
Plan the shoot before anyone picks up a bat
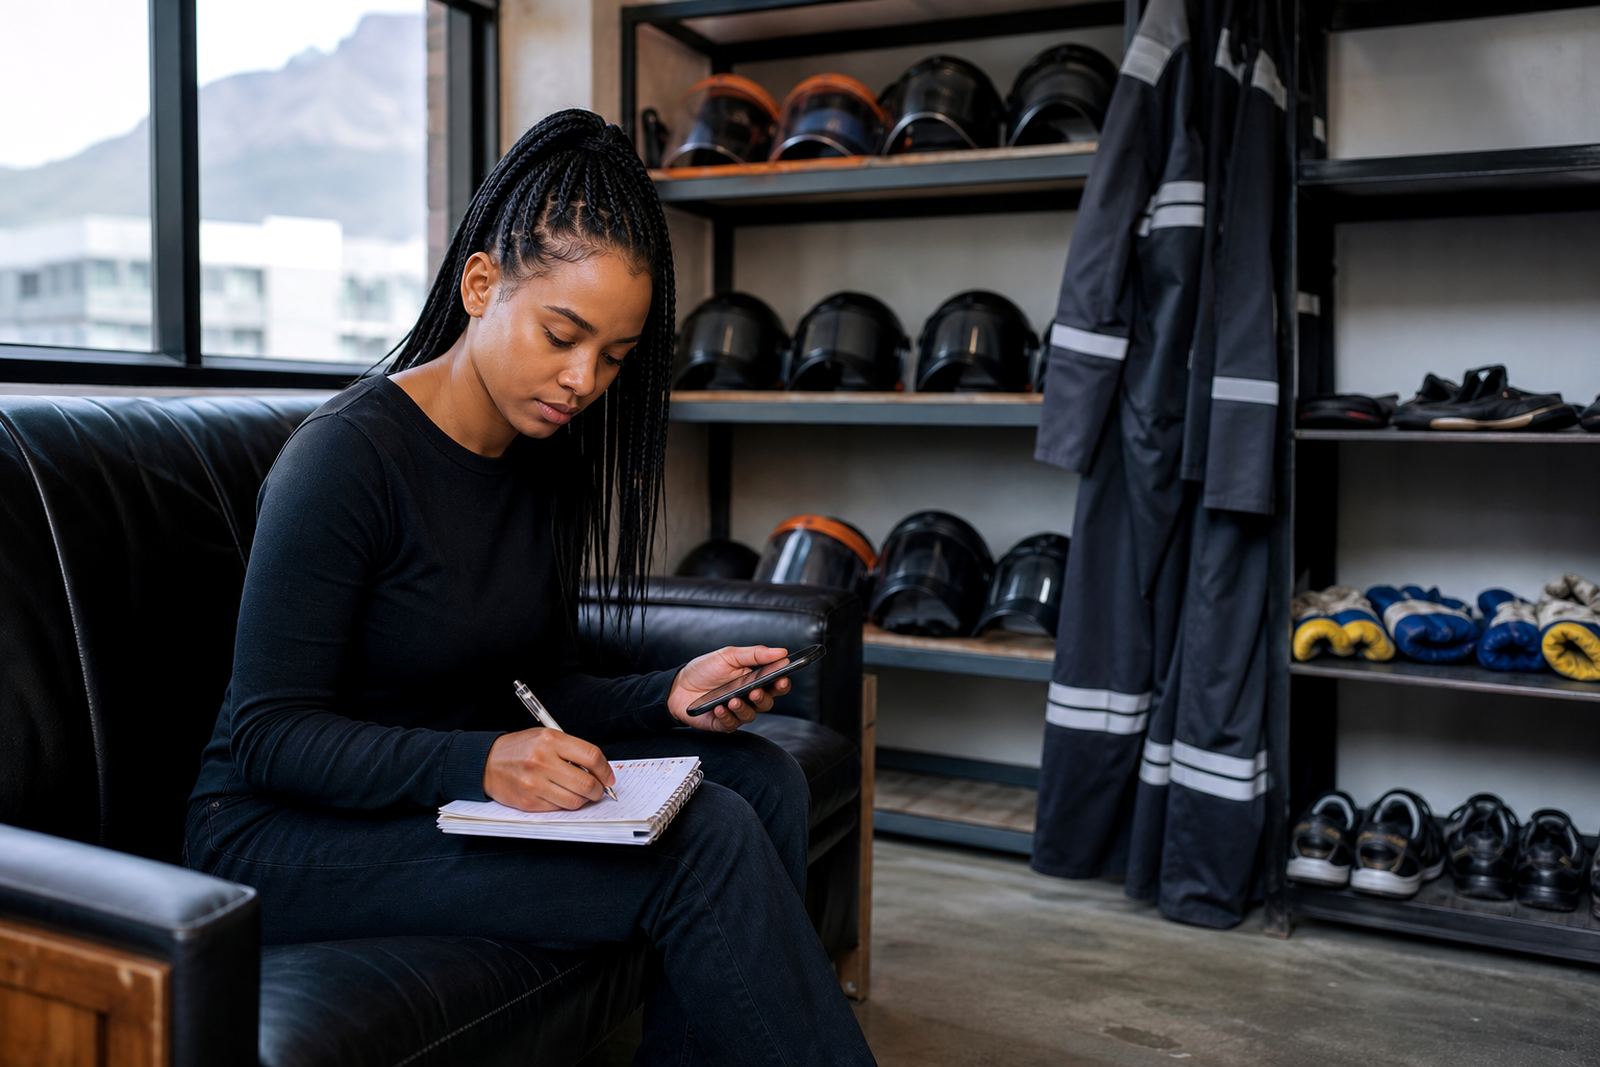
Good footage starts before the briefing begins. If you are filming for a team event, birthday or content shoot, decide who is recording, what moments matter most, and where cameras will be placed. A clear plan helps keep the session moving and avoids people clustering too close to the smash zone.
At our Woodstock venue in Cape Town, the safest approach is to keep filming roles simple. One person records, one person participates, and everyone else waits outside the active area until it is their turn. That way the camera gets the full reaction, but nobody is distracted while items are being broken.
- Choose one main camera person per round
- Agree on the clips you want before the session starts
- Keep extra bags, keys and loose items out of the filming area
- Check that the camera battery and memory card are ready
If your group is coming from Stellenbosch, Paarl or Bellville, it is worth arriving with the filming plan already sorted. A few minutes of preparation can save a lot of missed shots later.
Keep the camera outside the safe zone
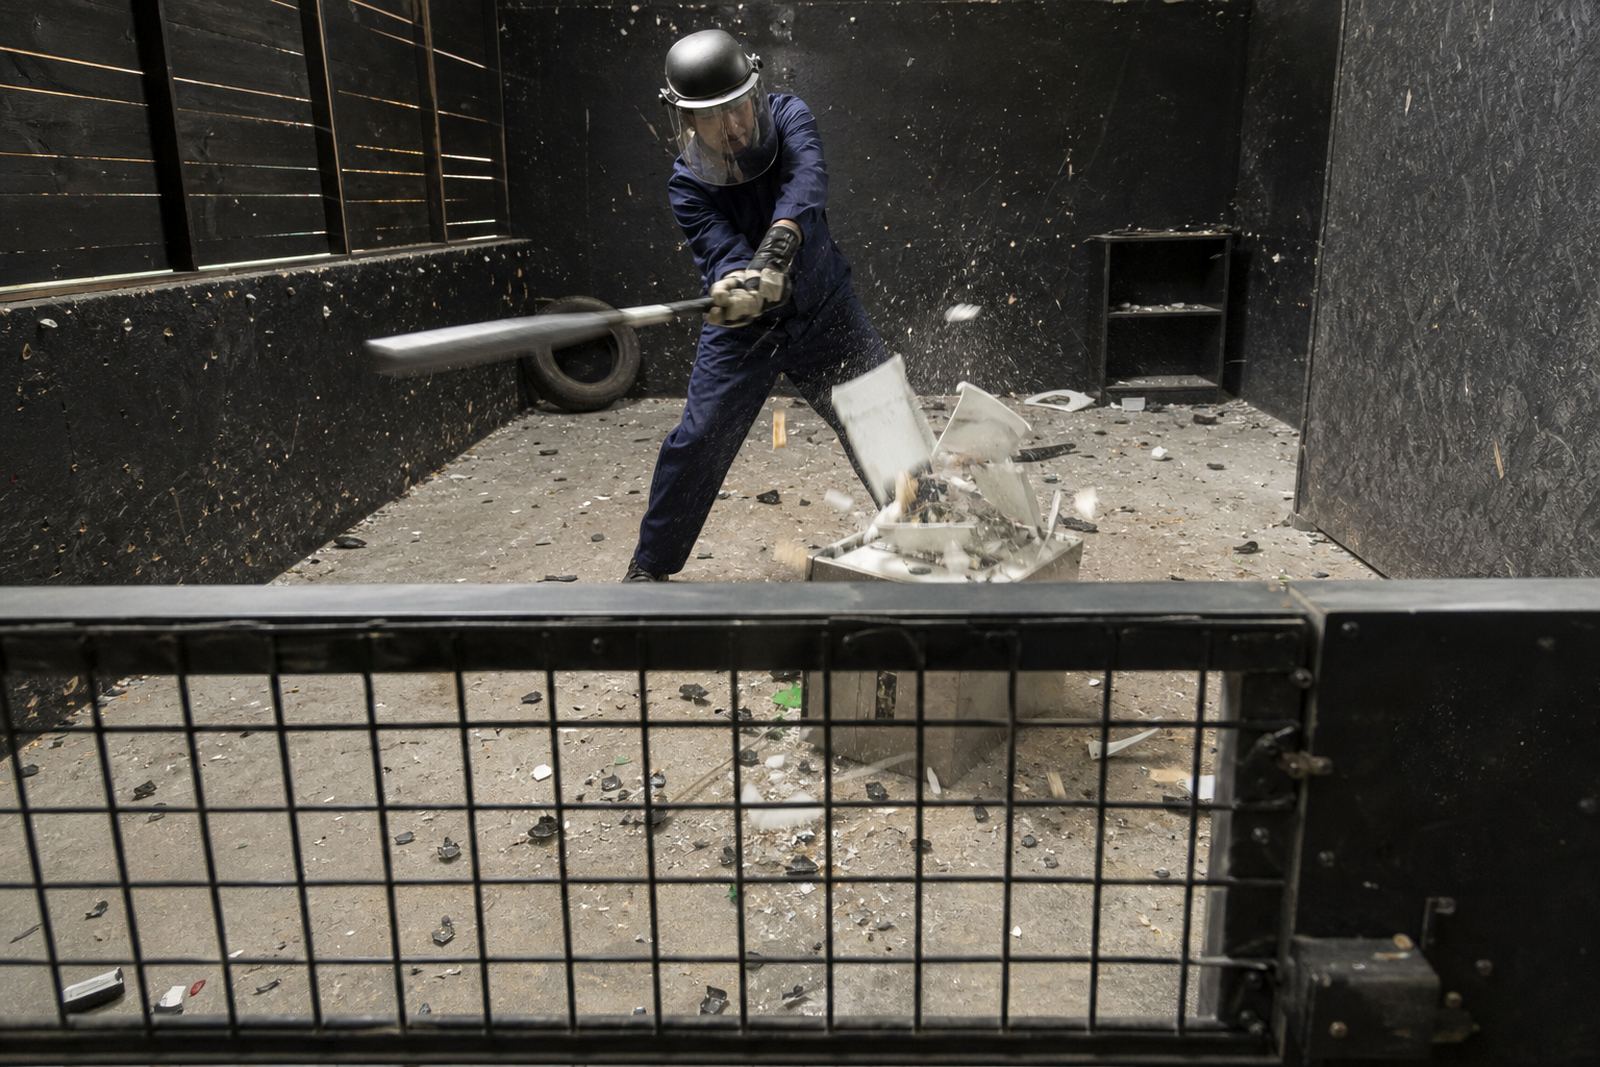
Safety comes first, even when you want close-up footage. The person filming should stay outside the active smash area unless staff say otherwise. Flying fragments, moving people and sudden swings can make a close shot risky. A wider angle often works better anyway, because it shows the full movement and the reaction in one frame.
For mobile events and content shoots, we always recommend a simple rule: the camera follows the action, not the other way around. If a participant needs to turn, lift or reset, the camera should stay still until the moment is safe. That keeps everyone comfortable and prevents anyone stepping into the wrong place by accident.
- Stand behind the marked line or in the approved viewing space
- Use a strap or secure grip on phones and cameras
- Never lean into the smash zone for a better angle
- Move only when staff confirm the next round is clear
In busy groups, one person can also hold a second phone to catch reactions from the side. This is often better than trying to film everything from one spot.
Use safety gear properly, then film the real moment
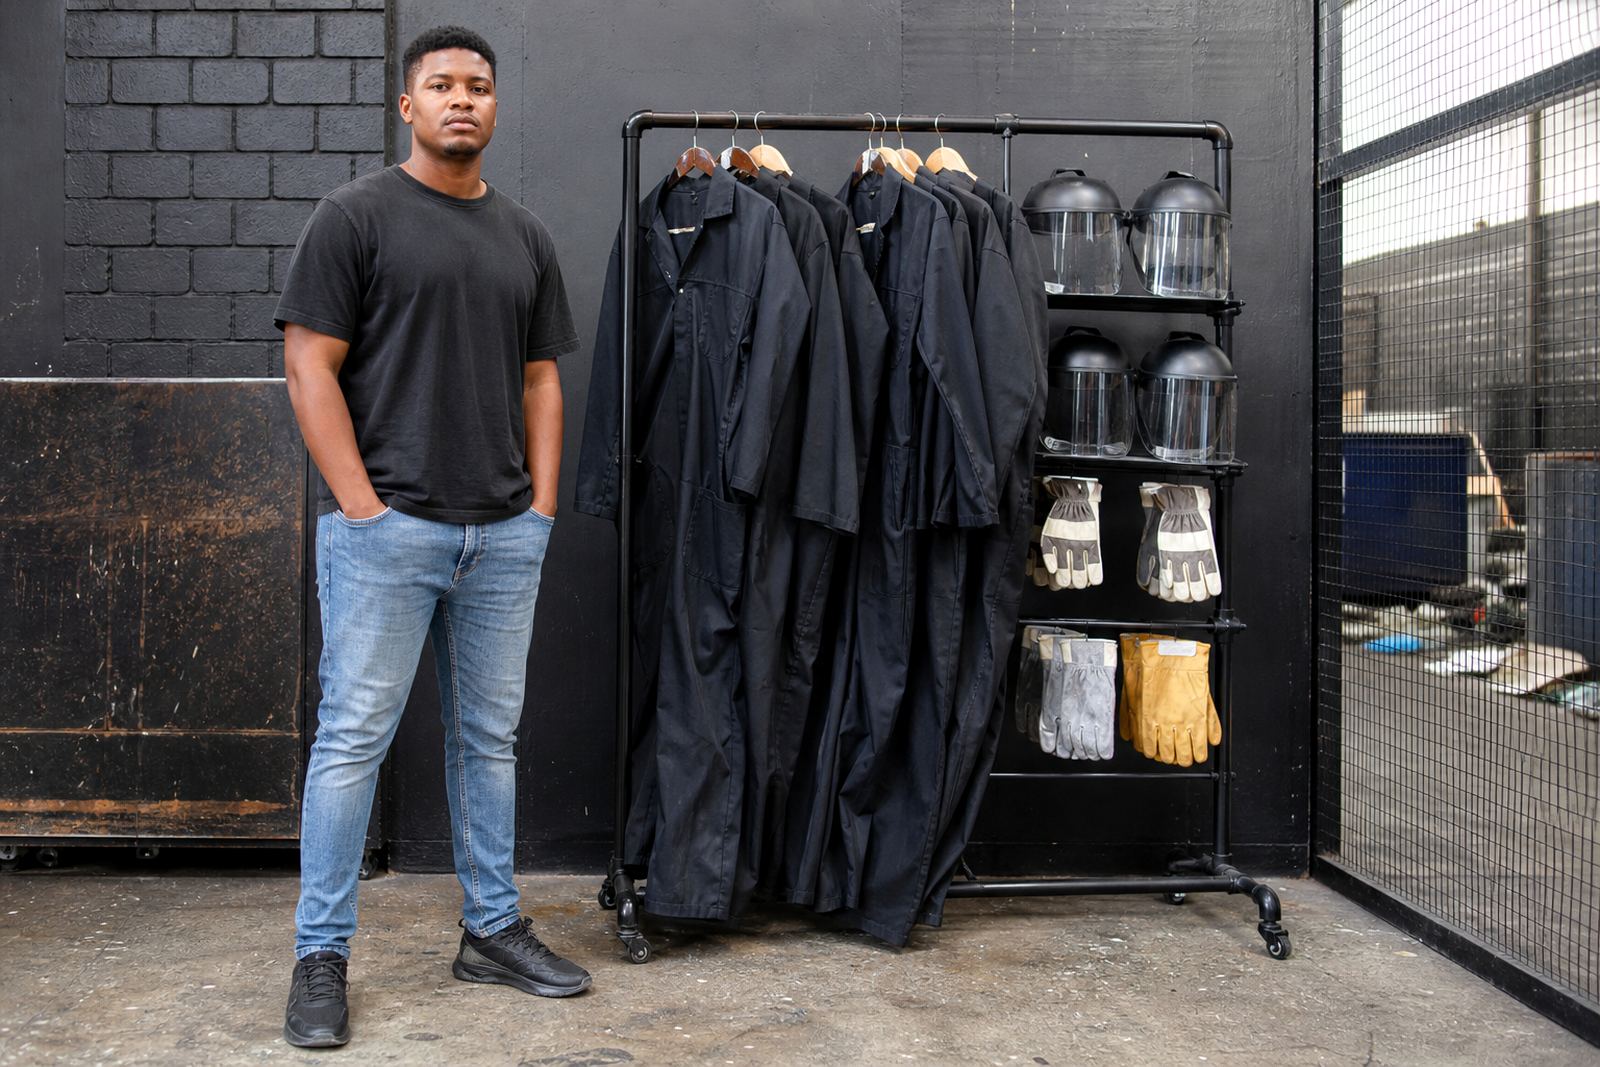
Anyone taking part must wear the required safety gear, including a helmet, face shield, gloves, overalls and closed shoes. That gear is not just for the person smashing, it also helps everyone stay focused on the session instead of worrying about what could happen if something slips or rebounds. Proper gear also makes the footage look more organised and professional.
For the camera person, the same practical thinking applies. Wear closed shoes, keep your hands free where possible, and avoid holding hot drinks or anything breakable near the active area. If your group wants dramatic footage, the safest option is to capture the lead up, the swing and the reaction rather than trying to squeeze in extra movement.
- Check that helmets and face shields are fitted before filming starts
- Keep gloves on until staff say the participant can remove or adjust them
- Do not film from behind someone who is about to swing
- Use short clips so you can review and adjust between rounds
This matters even more for first time groups. A clear briefing helps people feel settled, and settled participants usually give better footage too.
Capture the briefing and the reactions, not only the smash
Some of the best clips happen before the first swing. A short shot of the briefing, people putting on gear, and the moment they step into position gives the final video more context. It also shows the safe process, which is useful if the content will be shared with a wider audience.
Reactions are just as valuable as the smash itself. Laughter, cheers, and the split second before impact often make the strongest clips for social media or internal event recaps. If you are filming a staff social in Somerset West, for example, the group build-up can tell the story better than a shaky close-up taken too late.
- Film the safety briefing from a steady angle
- Record the moment the participant enters the space
- Capture a few seconds of silence before the swing
- Get reaction shots after each round
Keep clips short and purposeful. Long, wandering footage usually misses the best moments, and it is harder to edit later on.
Lighting, sound and phone settings matter more than people think
Inside a venue, lighting can shift quickly depending on the time of day and where you stand. If you are using a phone, switch off any filters and use the back camera for better detail. Portrait mode is useful for quick social clips, while landscape often works better for group highlights and event recaps.
Sound is just as important. The crack of a swing, the reaction from the group and the brief call from staff all add energy to the footage. If there is too much background noise, stand a little further back and let the room sound carry naturally. There is no need to overcomplicate it.
- Use the rear camera for sharper footage
- Clean the lens before the session starts
- Lock focus on the participant if your phone allows it
- Record a few wide shots before moving to close reactions
If you are filming in a coastal area or on a humid Cape Town day, keep a cloth handy for wiping lenses and screens. Moisture can affect clarity fast.
Local event filming needs a practical timeline
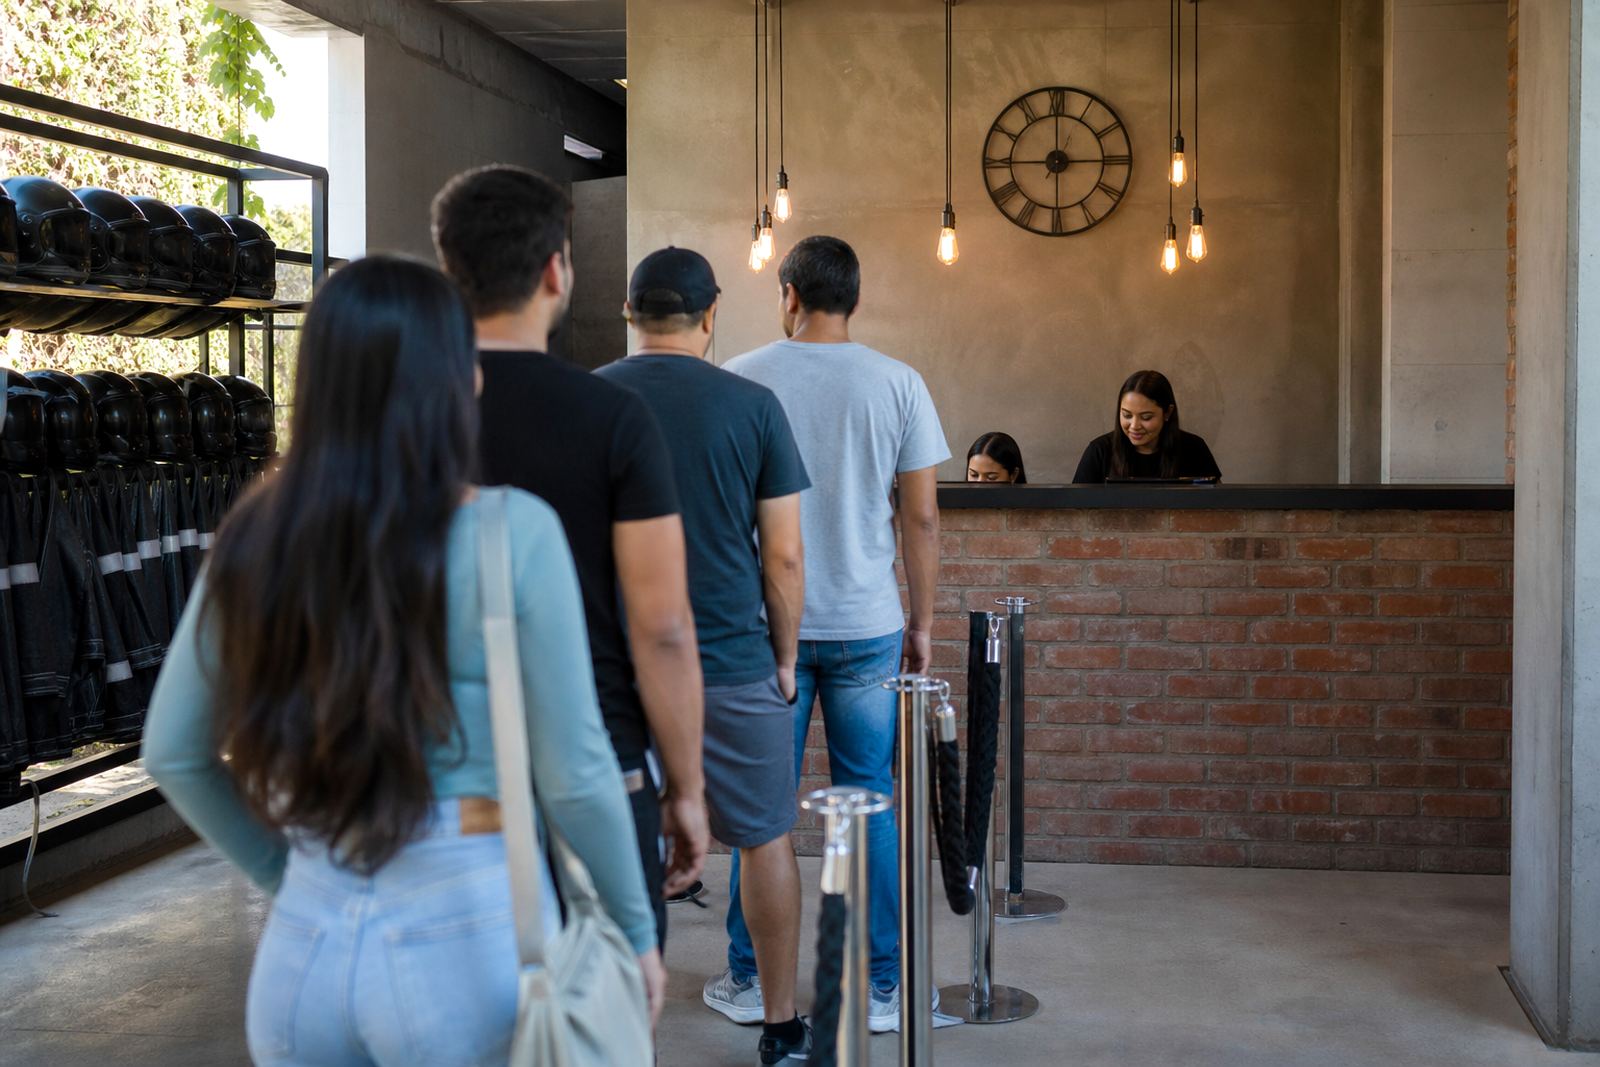
For group bookings, the smoothest filming sessions happen when the event flow is set early. A team from Bellville may arrive with a clear content plan, while a birthday group from Observatory may just want a few fun clips for the day. Both can work well, as long as the filming does not interrupt the session.
For launch events, student groups or staff socials, allow a little extra time between turns. That makes it easier to reset the camera, check the frame and give each participant a fair shot. It also helps if someone from your side keeps track of who has been filmed already, especially when the group is large.
- Build in extra time for setup and resets
- Assign one person to keep track of the clips
- Let staff know if you need a wider angle or more reaction shots
- Keep the recording plan simple enough for the whole group to follow
Our team in Woodstock works with individual bookings, private events and group sessions across Cape Town and nearby areas, so there is usually a straightforward way to fit filming into the booking without slowing it down.